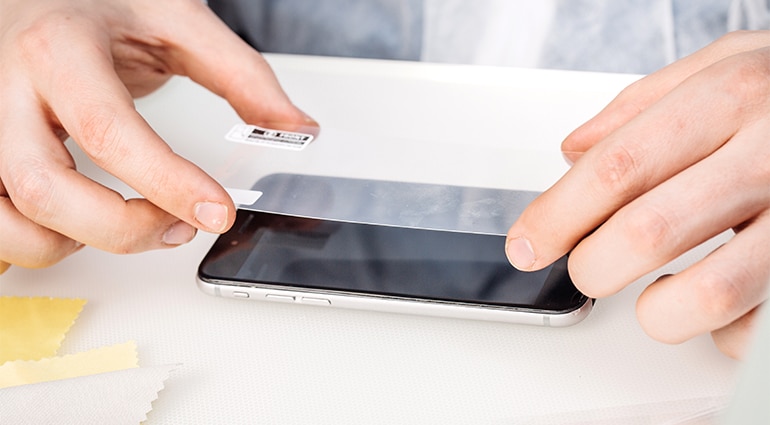
Installing a tempered glass screen protector requires precision and patience, maybe even a little practice. Follow the instructions below to successfully install leavingyour iPhone or smartphone protected.
The number one thing to remember is clean and dust free. Remove all dust, hair and fluff. For best results avoid touching the underside of the protector during the installation process. If you need any assistance with this process we will be more than happy to fit the screen protector for you.
- Clean your smartphone screen with rubbing alcohol or spectacle cleaning solution.
- Dry the screen with a microfiber cloth.
- Remove the screen protector from its packaging.
- Ensure there are no dust particles on the screen.
- Holding the tempered glass on the sides to avoid fingerprints, peel the adhesive backing from the screen protector.
- Carefully align the protector with the phone, ensuring that all camera and microphone openings are aligned and that the margins on each side of the protector are equal.
- Place the glass on device and lightly apply pressure on the glass to ensure the adhesive is sticking.
- If you notice air bubbles, use the tool included in your kit or a credit card to push the air bubbles towards the edges.
If the tempered glass screen protector fitting process sounds too complicated, don’t worry! FoneFix Honiton are here to help for all of your phone protection needs. We carry a wide variety of phone accessories including tempered glass screen protectors, if we’ve not got it we can source it for you! Most of our phone repairs come with the option to add a tempered glass screen protector for as little as £4.99 and don’t forget all our screen repairs come with a lifetime warranty.
“Keep an eye out on our website blog section, we will be adding lots of useful tips and tricks for your iPhone and Smartphone and Tablets”


